How to update your Inventory map ✨
April 8, 2021
Your interactive map is so easy to update! Just follow these easy steps today! ??
The project inventory map has been a very handy tool for sellers to keep track with latest inventory and as a visual representation of the the location of the property. So, it's really important that we regularly keep our maps up to date.
Before we get started if we need to upload your inventory map template.
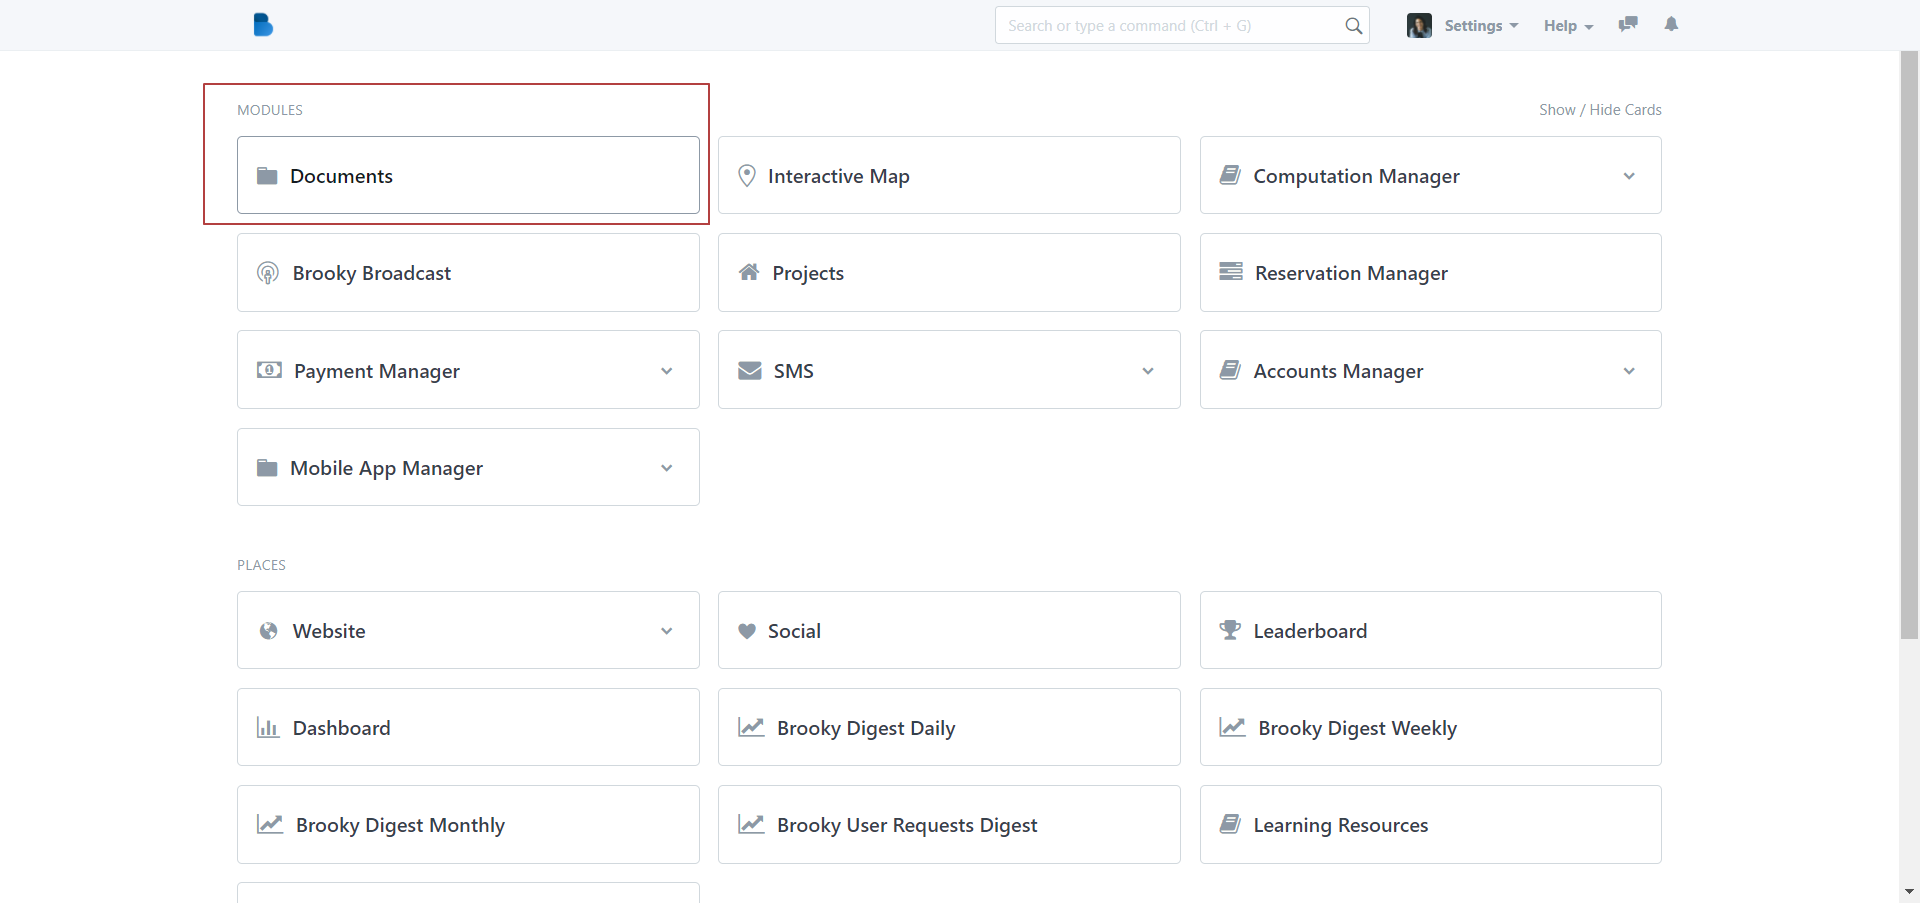
Upload your map: Go to your Documents module.
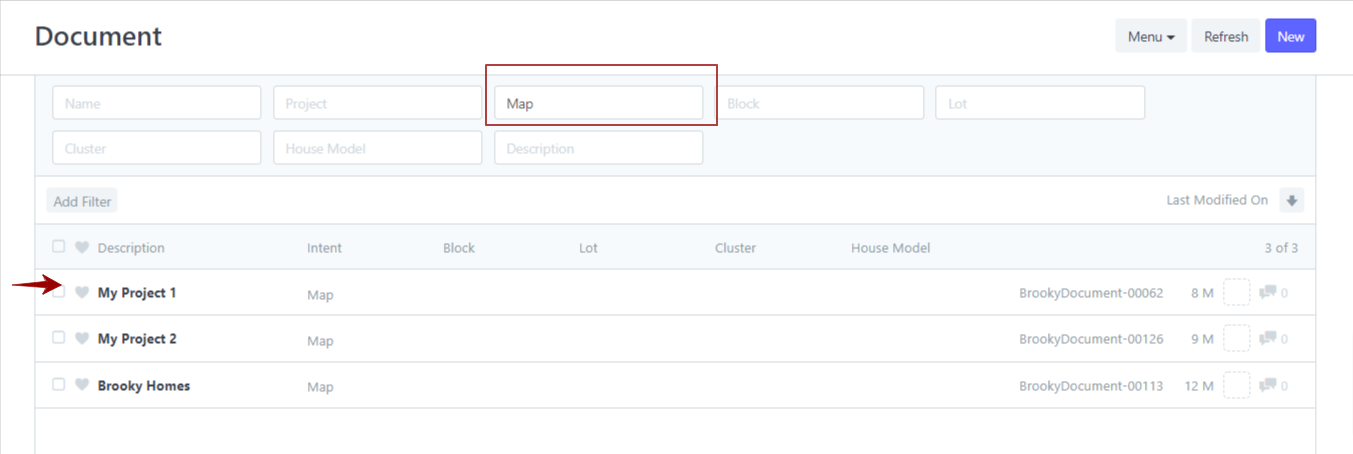
And search for the MAP intent in the search fields above, and then look for the project that you want to update and click the project name to open it up.
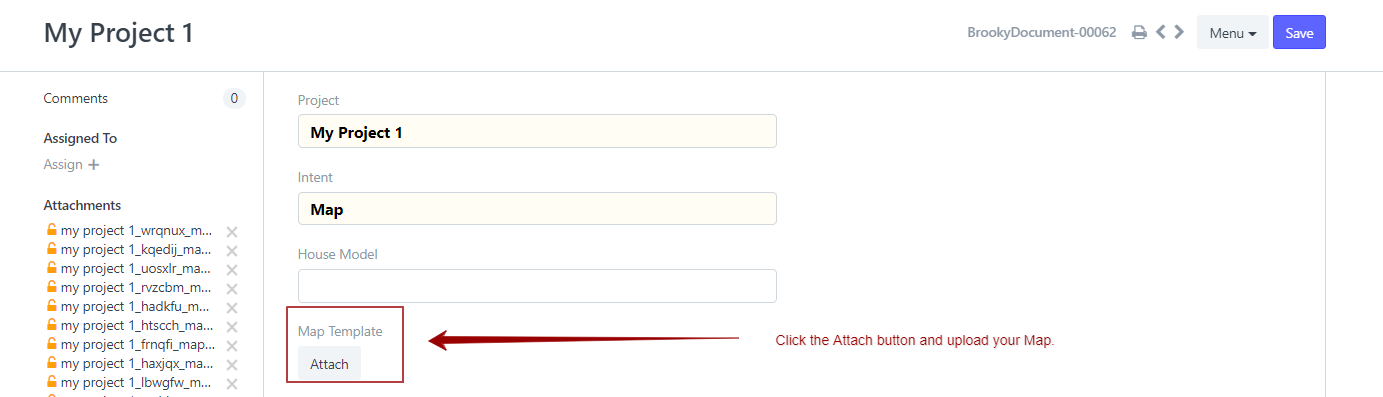
In the Project menu, navigate your way down and look for the Map Template field and click attach.
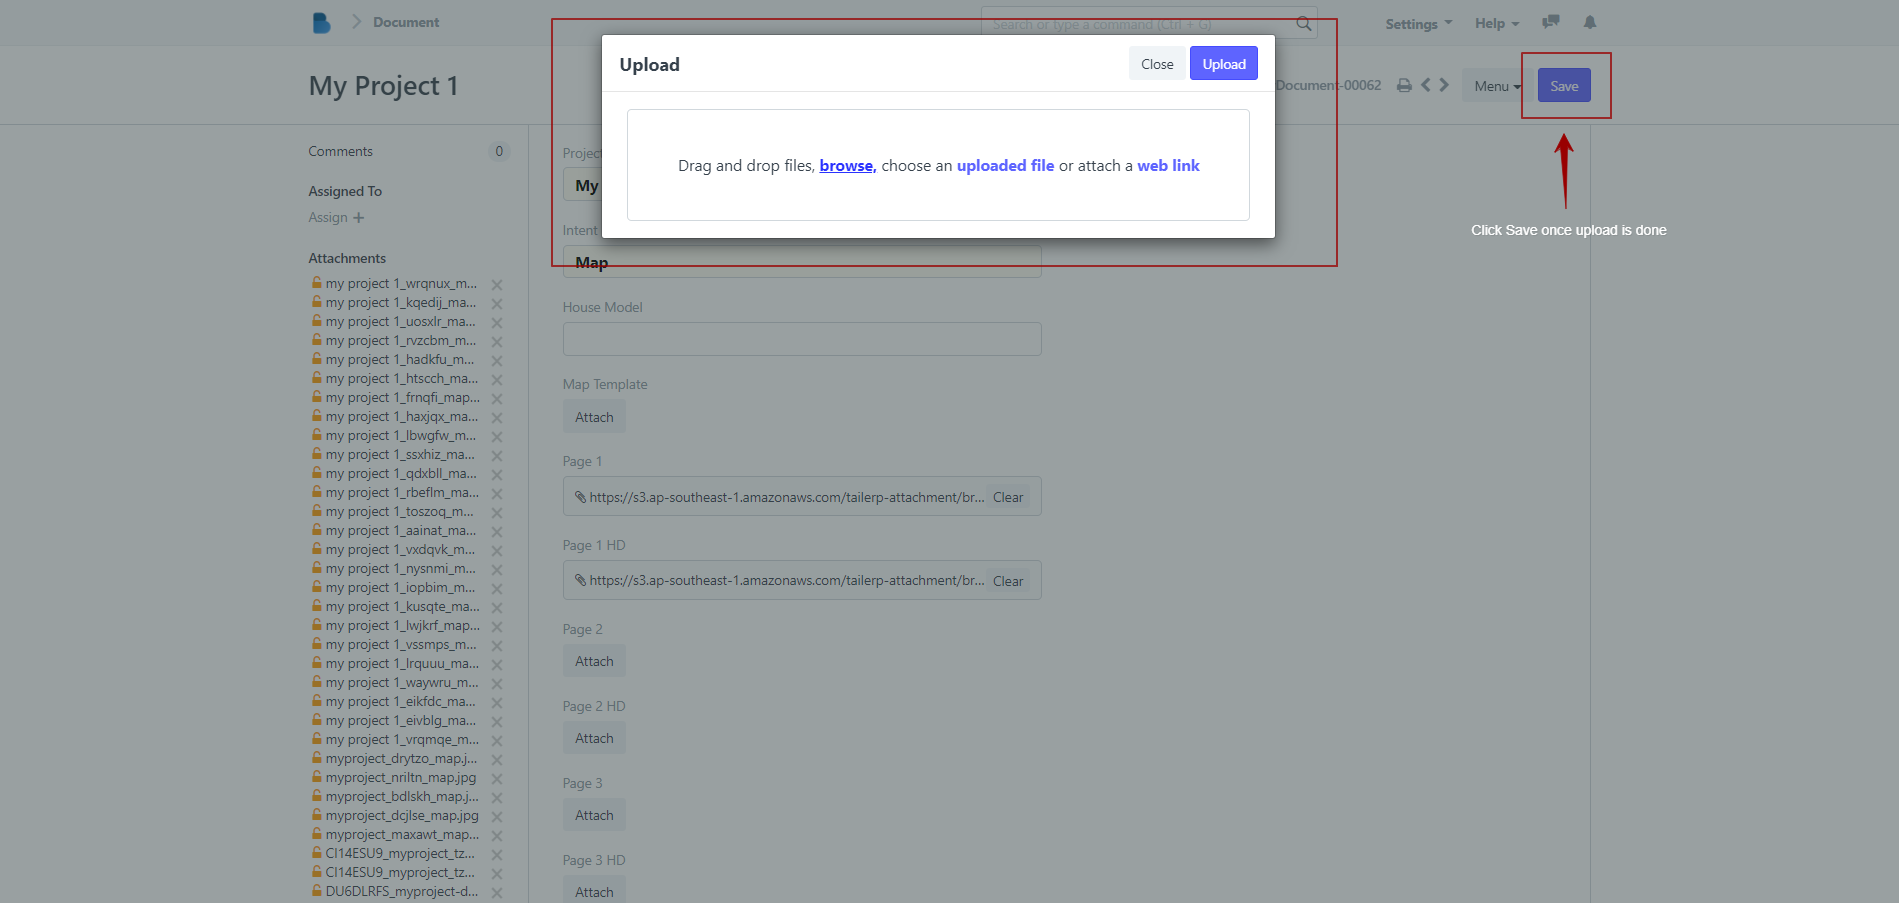
Upload your file and then once it's done click SAVE.
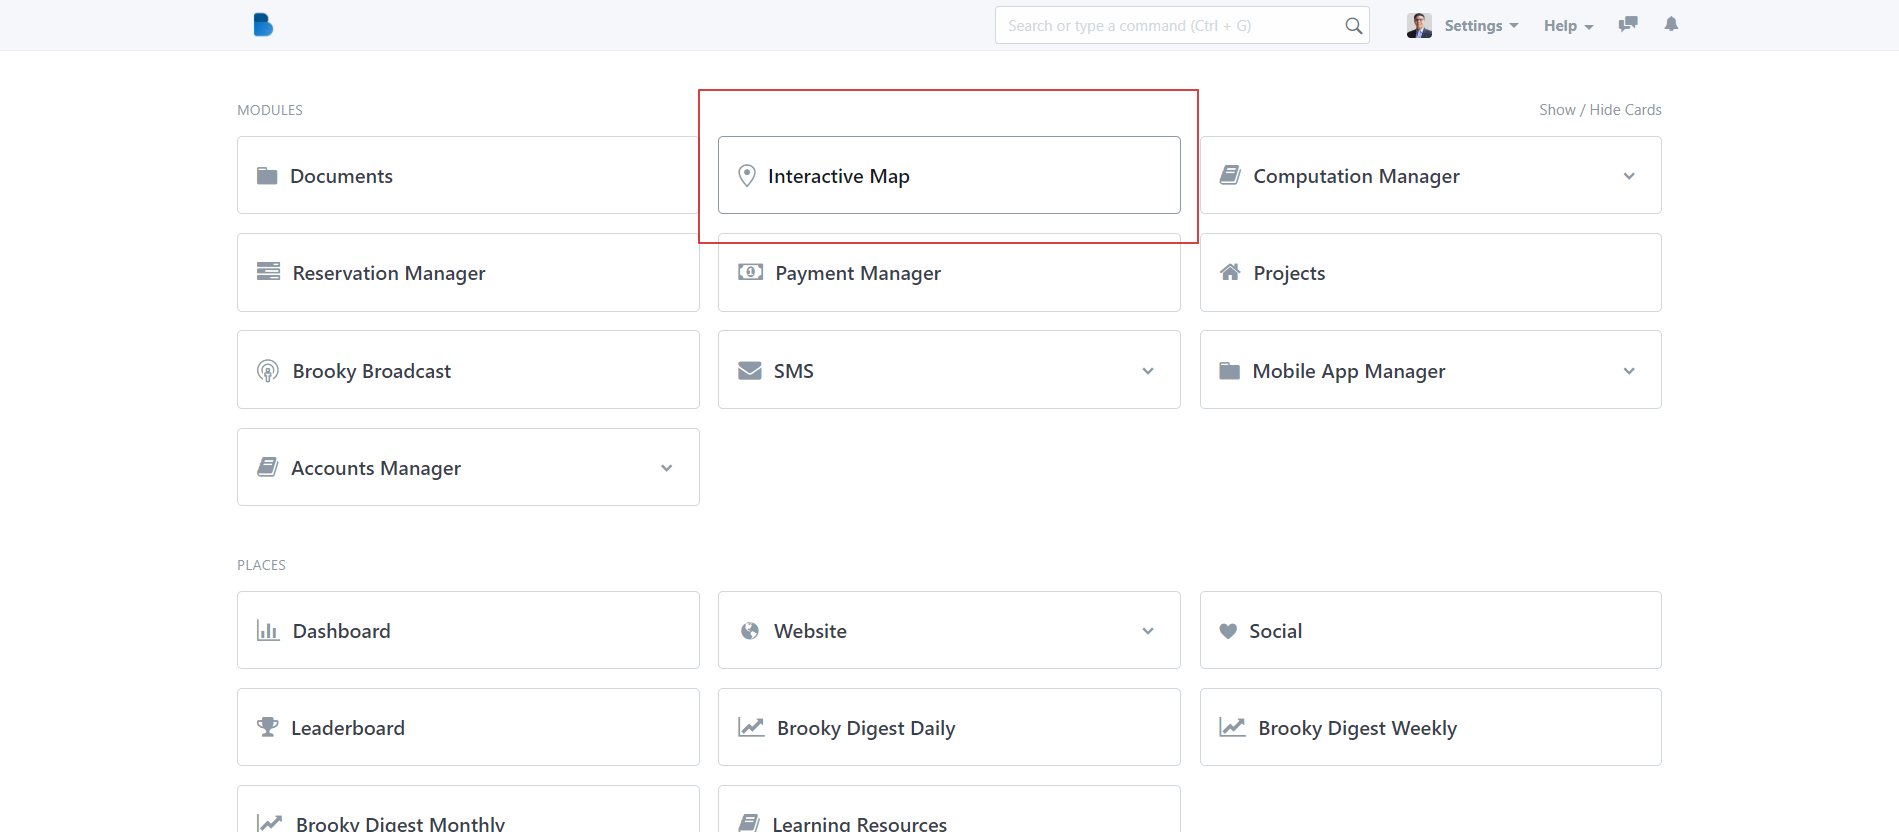
And now you can check your template in the Interactive Map Module, but first! Let's have a quick tour of your interactive inventory map menus and features.
Do this: Open your inventory map module and head over to your desired Project Map and wait for your map to load.
In the interactive page, you will see certain features and menus.

Navigation Panel
- In the Navigation Bar, you have your Projects menu where you can select and change what projects you would like to view.
- On your upper right side, you will see what Project you are currently viewing and of course your developers name.
- From the navigation panel, you can switch which Project you would like to see or edit by using the Project menu.

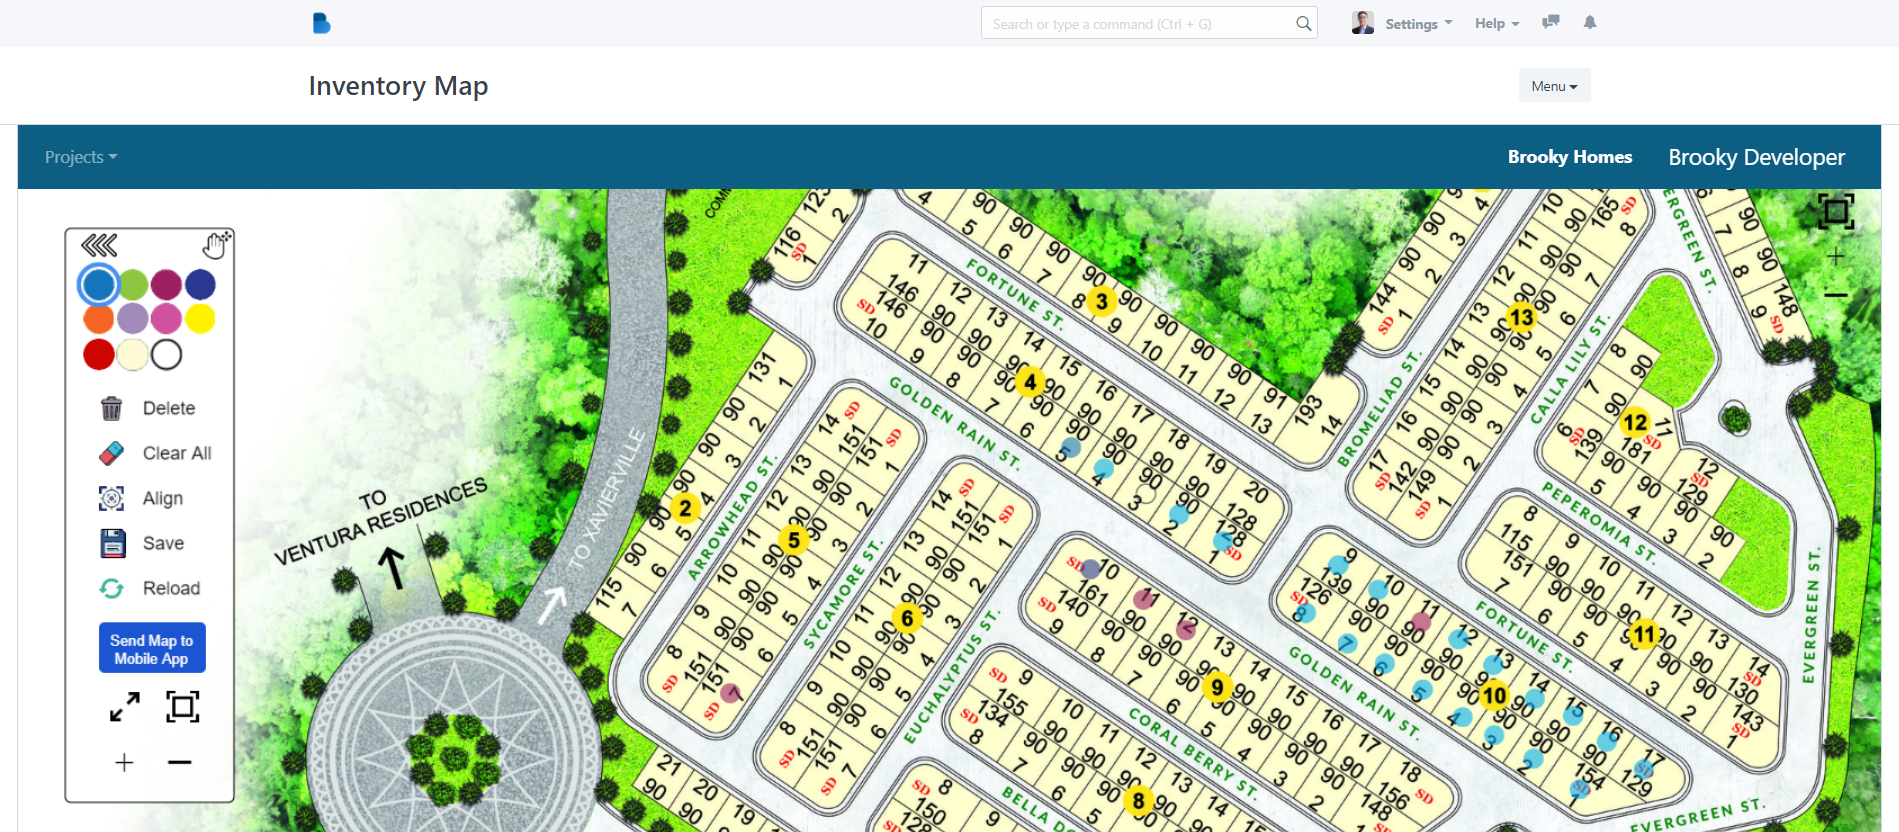

Map Menu Panel
- You Map Menu panel is your Editing panel, where you can add dots, delete dots, clear all of your dots (If you want to start with a clean slate) , you can also align your map in the center, and also Save your work. Your can also the FIT TO SCREEN feature to immediately zoom in to see the whole picture of the map.
In the map menu, you can then send an updated version of your map to your sellers via the (guess what!? ) thru the SEND MAP TO MOBILE APP Button.
Zoom in and out, or Fit to Screen
- On the right side of the screen, you have your viewer menu where you can magically zoom in , zoom out, or Fit your map to your screen.
NOW LET'S UPDATE YOUR MAP!
Step 1: Open your Project map (wait for it to load ).
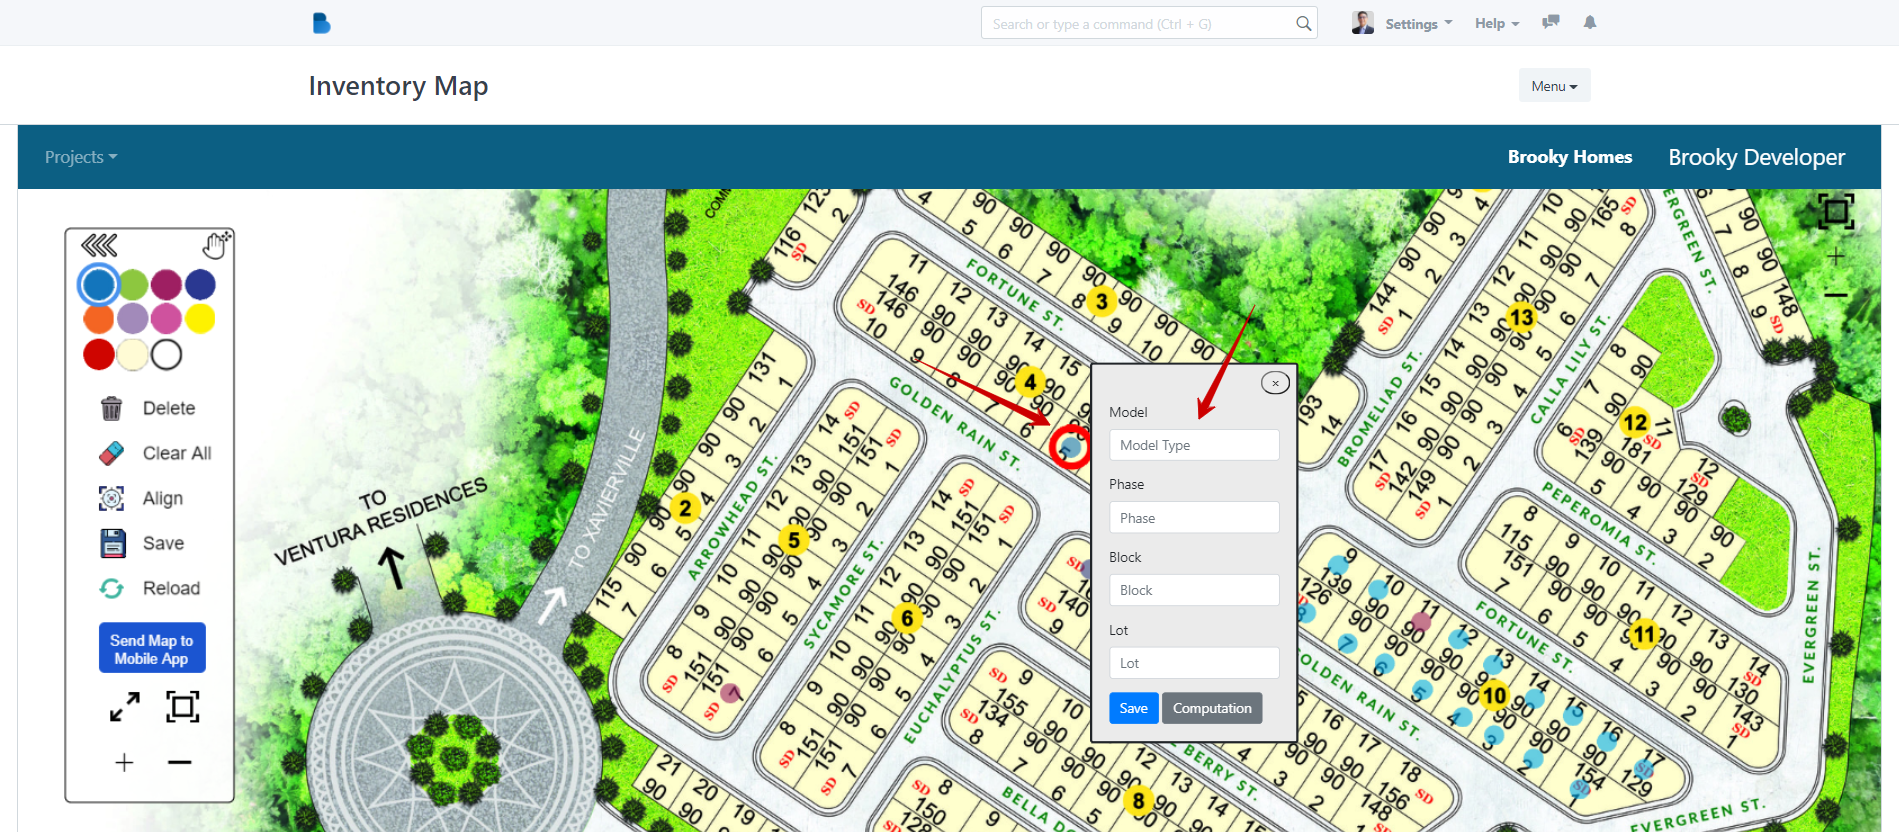
Step 2: Get a copy of your Pricelist as guide, and navigate your way to your desired area in the map to place the dots.
Step 3: Now select a dot, click on the dot, and then double click the area where you want to place the dot.

Now Double click on the area where you want to place the dot. And then a panel will appear and just fill up the fields with the correct details of the property.

Repeat the steps until you are finish with all your dots. And then don't forget to save your work!
TIP: You can left click click and hold the mouse to drag the image around ?

Now, if you're ready you can push your updated map to your sellers by clicking the "Send map to mobile app"button.

NOW LET'S LINK YOUR DOT TO A SAMPLE COMPUTATION!
Step 1: Click a dot you want to update. Then a menu will appear.
Step 2: Fill the menu with the correct details of the particular unit. Then click save.
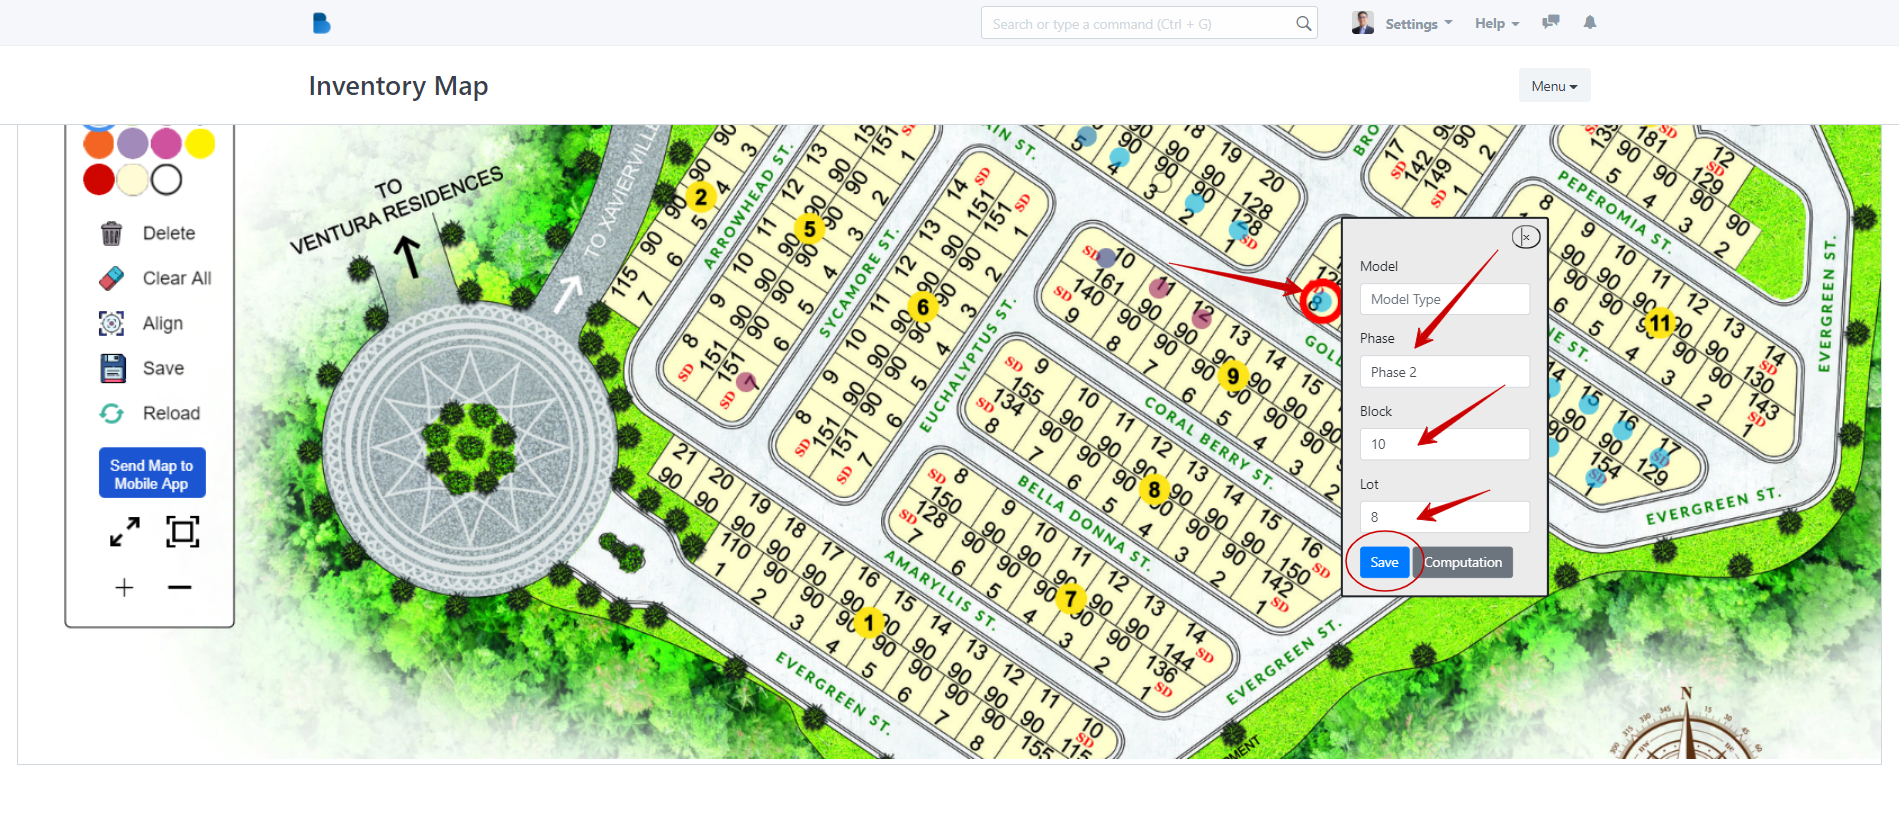
Step 3: Now check if the link is successful by click on the computation button. and it should open up with the correct sample computation for the particular unit.
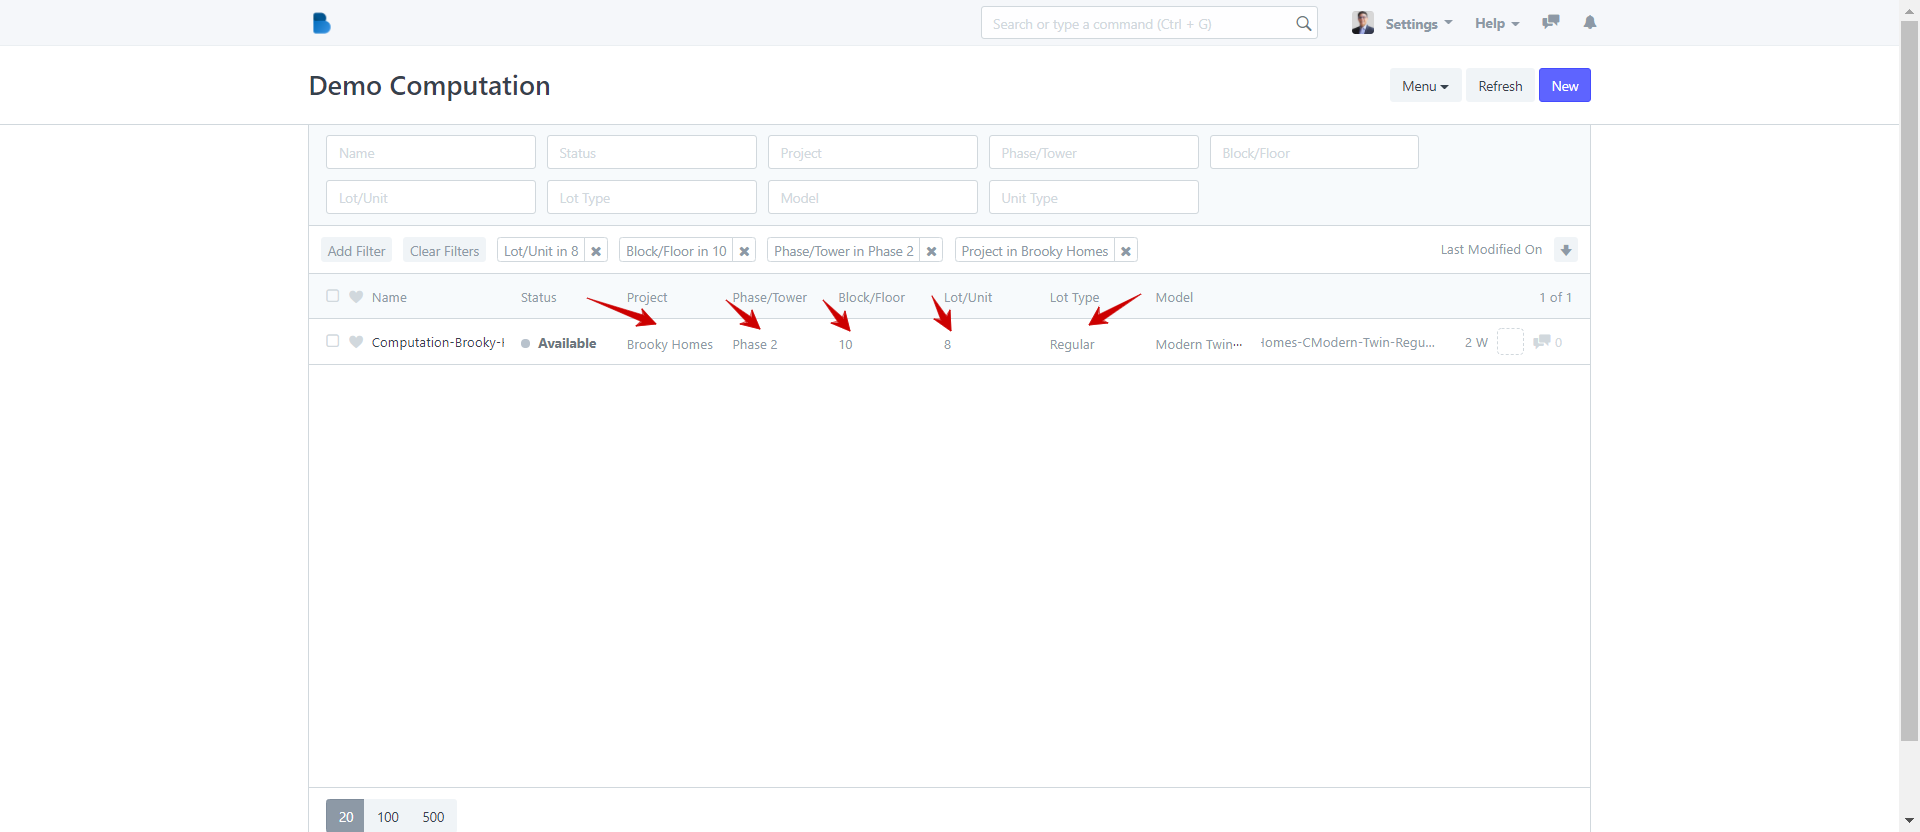
Now, you can now easily update your map just by changing the status of your sample computation.
No comments yet. Start a new discussion.